In order to start to CAD, you need to make sure you have the necessary materials. In general, every kid needs a non-entry level laptop for good experience; mainly, the software needs 3D capable graphics card with OpenGL support. For a full list, click here. The computer needs to have these requirements in order to download PTC Creo.
Click here to download the PTC tool.
First, you want to make an account. Fill out the boxes, and submit. You will receive an email to establish your account. When you have finished registering your account, click the link following Installation Instructions. It will bring you to another page, where you will want to click the first link. From there, click the download manager for the 4.0 Win 64 DVD. Wait for the folder to download, then you can start to use CAD!
How to model almost anything.
The introductory series is an in-depth introduction to Creo, entitled “How to Model Almost Anything,” and covers the core capabilities of solid modeling. This is an easy-to-follow curriculum that will have you building FIRST models very quickly. It has 12 exercises and 18 different pre-assembled models for you to work with.
This is a link to help teach you about how to CAD.
Click on the How_to_model_almost_anything and it will automatically start to download. When you are finished, you can go over the instructions, and CAD.
Click here to download the parts for FTC. You can go ahead and download all the files you want. Make sure you do this, otherwise you can’t use the pieces needed in CAD.
This is a link with PTC Creo in action It includes instructions on how to print the model you made, and how to precisely make geometry.
Additive Manufacturing
Here is a youtube link about additive manufacturing.
Common Problems
These are some common problems: If there is a license error, or if the license expired, or if the placement tab isn’t showing. If that happens to you, just click on one of the links, and it will help you fix it.
CAD Examples
Something we made on CAD was a spool. 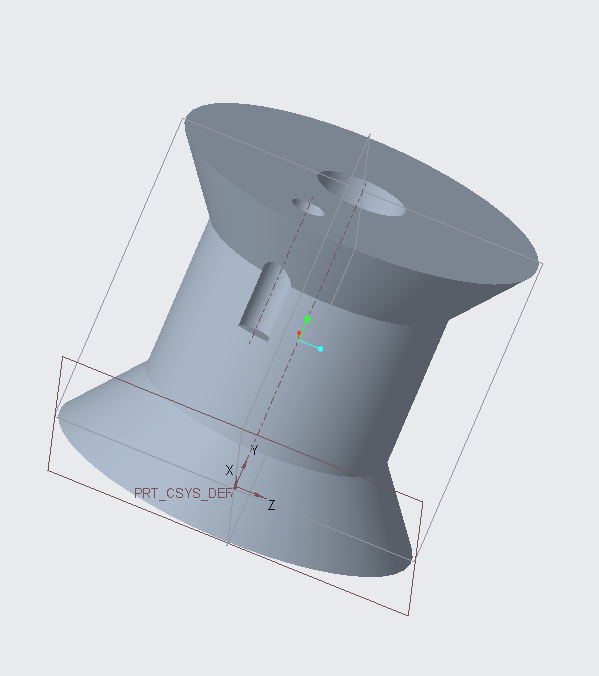 We 3D printed the spool and used it to make it easier to make the slider move.
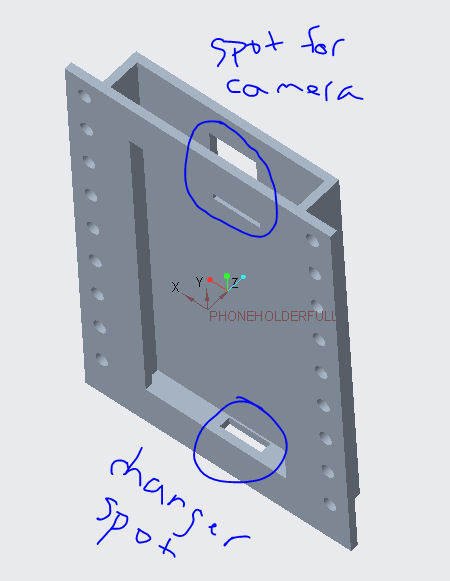
Another item we made is a phone holder, which would hold the phone on the robot. It has a camera spot, and a charger spot.
We 3D printed the spool and used it to make it easier to make the slider move.
Another item we made is a phone holder, which would hold the phone on the robot. It has a camera spot, and a charger spot.